

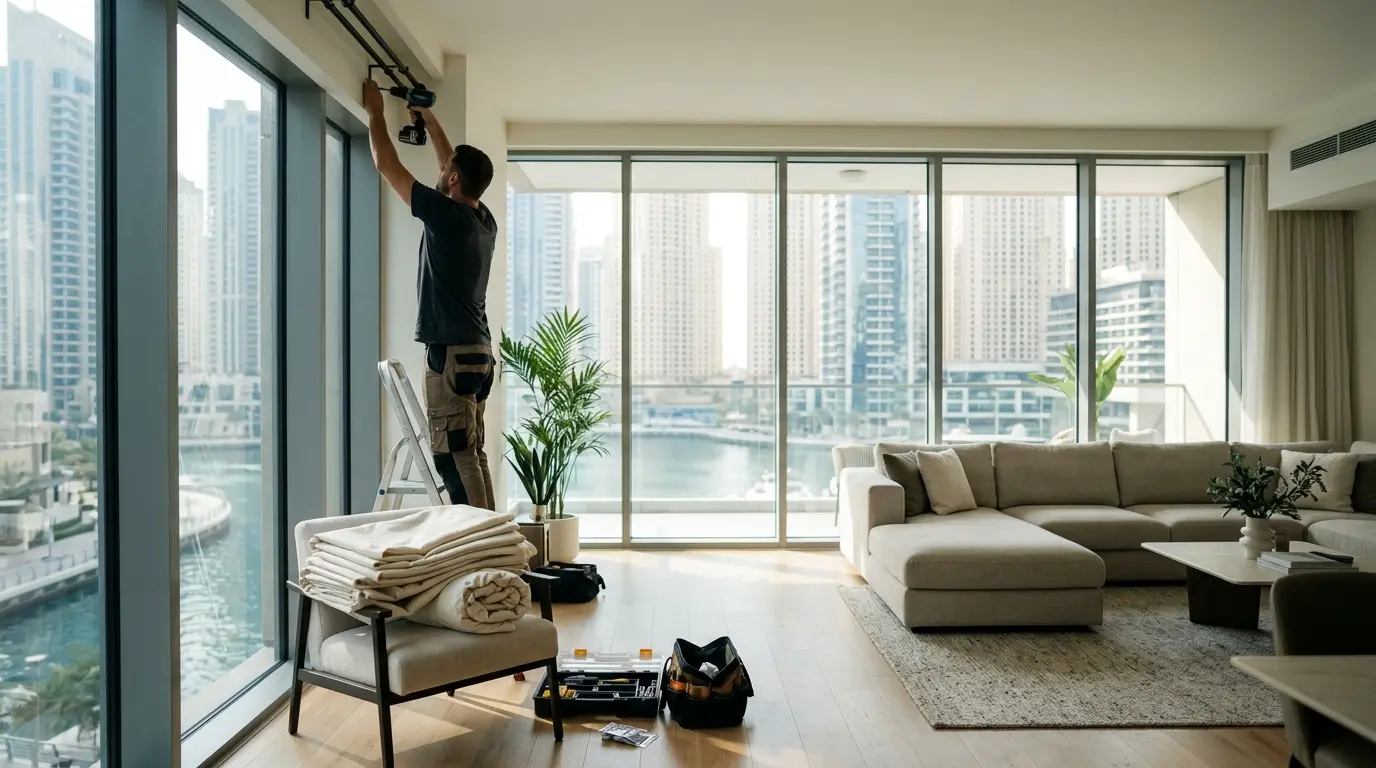
How to Install a Curtain Rod: Step-by-Step Guide for Dubai & UAE Homes (2026)
How to Install a Curtain Rod
To install a curtain rod, mark the bracket height 10–15 cm above the window frame and let the rod extend 10–20 cm past each side. Check for hidden pipes and cables, drill pilot holes, insert wall plugs suited to your wall type, screw the brackets in level, then fit the rod and curtains. Most windows take 30–45 minutes.
A crooked rod, a sagging curtain, or a bracket pulled out of the wall is common in Dubai apartments, and it usually comes down to two causes. The wall type was ignored, or the rod was too weak for heavy fabric. Whether you live in a Dubai Marina high-rise, a Business Bay apartment, a JBR flat, or an Abu Dhabi villa, this guide shows you how to install a curtain rod safely and level the first time.
What You Need Before You Start
Curtain rod kit (rod, brackets, finials and screws)
Tape measure and pencil
Spirit level
Drill, with a masonry bit for concrete or a standard bit for plasterboard
Wall plugs or heavy-duty anchors that suit your wall
Screwdriver
Stud or cable detector (strongly recommended)
Stable stepladder, plus a helper for rods longer than 2 metres
1: Decide the Rod Height and Width
How high should a curtain rod be above a window?
Mount the brackets 10–15 cm (4–6 in) above the window frame. Going higher, closer to the ceiling, makes the room feel taller, which suits the many floor-to-ceiling windows in Dubai. For sliding doors, our guide to the standard curtain length for sliding glass doors explains how to match rod height to curtain drop.
How far should a curtain rod extend past the window?
Let the rod extend 10–20 cm (4–8 in) on each side. The curtains then stack beside the glass instead of covering it, so you get the full view and maximum daylight when they are open. Heavy blackout curtains need more stack space than sheers, so choose the wider end.
2: Check Your Wall Type
Your wall decides your fixings. Using the wrong anchor is a leading reason brackets fail.
| Wall type | Drill bit | Fixing | Tip |
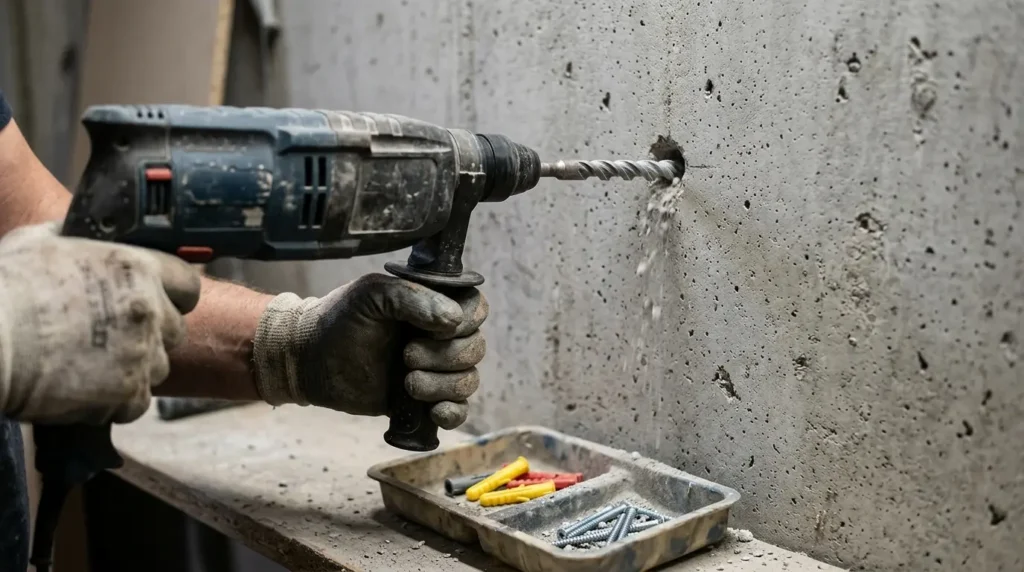
| Concrete or solid block | Masonry bit, hammer setting | Plastic wall plug matched to bit size | Drill slowly and clear dust from the hole |
| Hollow block | Masonry bit, light hammer | Hollow-wall or long plugs | Do not overtighten screws |
| Plasterboard (gypsum) | Standard bit | Cavity or toggle anchors rated for the load | Aim for a stud or ceiling track |
| Ceiling slab or curtain box | Masonry bit | Ceiling-rated fixings | Check pocket depth first |
Not sure what you have? Tap the wall. A dull, solid sound usually means concrete or block, while a hollow, drum-like sound usually means plasterboard. Then scan for pipes and electrical cables with a detector before you drill, and never drill directly above or beside switches and sockets. If you rent, check your tenancy agreement or ask building management before drilling.
3: Mark the Bracket Positions
Hold a bracket where it should sit, mark the first screw hole with a pencil, then repeat on the other side. Measure from the floor or ceiling, not the window frame, because frames are not always perfectly level. Place a spirit level across both marks and adjust until the bubble sits in the centre. For a rod longer than about 120 cm, mark a third position at the centre for a support bracket.
4: Drill and Fit the Wall Plugs
Wear safety glasses. Use a bit that matches your wall plug, hold the drill straight, and drill to the full length of the plug. Tap the plug in flush with the wall. In plasterboard, fit the cavity anchor by following its own instructions.
5: Fix the Brackets
Line each bracket up with its plug and drive the screws in until firm. Do not overtighten, because forcing the screws can crack plaster or spin the plug loose. Give each bracket a firm tug. If it moves, remove it and fit a stronger anchor.
6: Hang the Curtains and Fit the Rod
Thread eyelet curtains onto the rod, or clip ring-top and pinch-pleat curtains to their rings, before lifting the rod into place. With a helper holding the other end of a long rod, rest it in the brackets and tighten the grub screws. Fit the finials last, then slide the curtains open and shut to check for snagging.
7: Check Level, Length and Movement
Step back and check that the rod is level and the curtain hem sits about 1–2 cm above the floor. If the rod bows in the middle, add a support bracket. A properly installed rod carries the curtains without sagging.
Choosing the Right Rod for Heavy Dubai Curtains
Strong sunshine pushes many UAE homes towards thick, lined curtains, and these weigh far more than sheers. Choose a sturdy metal rod with solid brackets, and add a centre support earlier than you would for light fabric. If you layer sheers behind blackouts, a double rod lets each layer move independently. Browse our blackout curtains and sheer curtains for ideas.
Installation Tips for Dubai Marina, Business Bay and JBR Apartments
High-rise living brings its own challenges. In towers across Dubai Marina, Business Bay and JBR, floor-to-ceiling glass and balcony sliding doors are common, so plan the rod to clear door handles and let the curtains slide fully past the glass. Check for A/C vents and ceiling features before settling on a mounting height. Some apartments have ready-made curtain pockets or concrete ceilings, so confirm the depth first. Measure in the room where the curtains will hang, because windows on the same floor can differ slightly in size. In Abu Dhabi villas, taller ceilings may call for a longer drop and an extra bracket on wide windows.
Can You Install a Curtain Rod Without Drilling?
Sometimes. A tension rod fits inside a window recess and suits lightweight sheers, and adhesive hooks work for very light fabric only. Neither is dependable for lined or floor-length curtains, so drilling remains the safer choice for heavy fabric. If your building does not allow drilling, ask management about approved options first.
5 Common Curtain Rod Mistakes to Avoid
1. Hanging the rod too low, which makes windows look shorter.
2. Using weak plugs in plasterboard or a thin rod for heavy fabric.
3. Skipping the centre support on wide windows.
4. Measuring from the window frame instead of the floor or ceiling.
5. Drilling without checking for pipes and cables.
When Should You Call a Professional?
DIY works well for a standard window. Call a professional for floor-to-ceiling glass in a high-rise, ceiling pockets or curtain boxes, motorised tracks, rods wider than 2.5 metres, or heavy layered curtains. Curtain Crew DXW offers a free site visit, exact measurements, and installation by our in-house team across Dubai Marina, Business Bay, JBR, and Abu Dhabi, backed by a 2-year installation warranty on workmanship. If you want a track fitted for you, see our motorized curtains.
Frequently Asked Questions
How long does it take to install a curtain rod?
About 30–45 minutes per standard window if your wall type is straightforward. Wide windows and plasterboard take longer.
Do I need a centre support bracket?
Yes, for rods longer than about 120 cm, and for any heavy lined curtains, because the middle of the rod will bow without it.
Can I install a curtain rod myself in a Dubai apartment?
Yes, if you can use a drill safely and know your wall type. Check your tenancy rules first, and hire a professional for glass walls, high ceilings, or motorised systems.
Can I install a curtain rod in plasterboard?
Yes, using cavity or toggle anchors rated for the curtain weight, ideally fixed into a stud.
How far should brackets stick out from the wall?
Choose brackets with enough projection for the fabric to hang freely without touching the glass, window handles, or wall.
Final Thoughts
A good curtain rod installation comes down to four things: the right height, the right fixing for your wall, a level line, and enough support for the fabric. Get those right, and your curtains will hang well for years. If you would rather leave it to the experts, message Curtain Crew DXW on WhatsApp or contact us for a free consultation.